How to pass data in angular?
Let’s start with setting up the project first.
ng new ng-BasicsAfter creating the project, let’s run the application.
ng serveOur very first angular app is up and running and now open the browser and navigate to the localhost:4200 which is the default port of angular app and you will see the window with default data.

Now let’s clean the default data provided by the angular CLI presented in the above image which is coming from the app.component.html file.
After cleaning the data, let’s create a new component child and adding the child selector which is app-child to the app.component.html file.
ng g c childwe need to add the child selector like this to the app.component.html file and the output will look like this.
<app-child></app-child>
Passing data from parent to child component #
We will be passing the object which we are going to declare in the app.component.ts file.
sendData = {
  name: "Nick",
  age: 25,
  height: 175,
  weight: 100,
};
After declaring the object in the app.component.ts we need to declare a variable in app-component.html file with the help of property binding which will be use to pass the data from parent to child component.
<app-child [getData]="sendData"></app-child>Now the data is send from parent component which we need to get by using the getData variable which we have declared app-component.html for that we need to import the @Input decorator in child.component.ts file.
@Input() getData: any;We need to show the data coming from the parent component.
<div style="text-align: center;margin: 50px;">
  <p>Name: </p>
  <p>Age:  yrs</p>
  <p>Height:  cm</p>
  <p>Weight:  kg</p>
</div>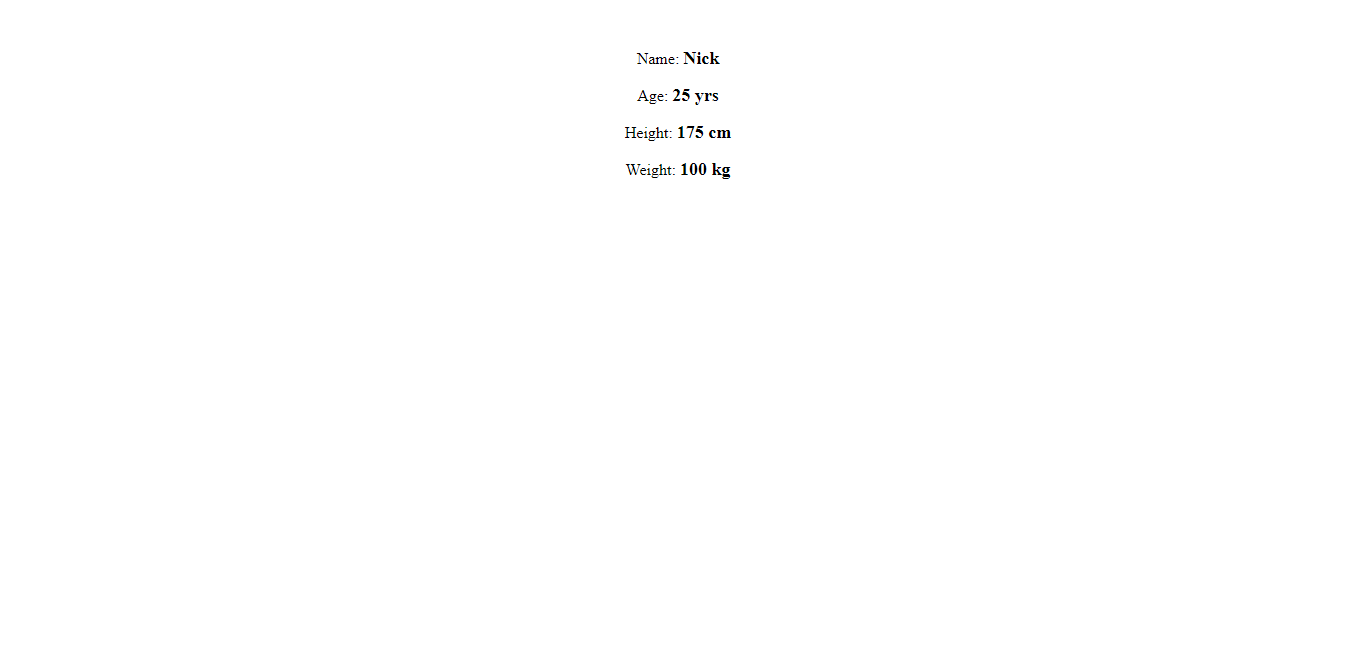
Passing data from child to parent component #
Creating a new function in app.component.ts file which will be use to pass the data from child to parent component.
sendData(data: any) {
    console.log(data);
  }
Now we need to pass the data from child to parent component. Here we have created a variable as getData in app-component.html file.
<app-child (getData)="sendData($event)"></app-child>Going to the child.component.ts file we need to create a function which will send the data on click of the button to the parent component.
Before that we need the variable which we have declared inside app-component.html and we need to import the @Output decorator and EventEmitter from @angular/core in child.component.ts file so that whatever we are trying to achieve will be achieved using EventEmitter.
@Output() getData = new EventEmitter();shareData() {
this.getData.emit({
name: 'Child',
age: '20',
});
}Atlast we need to create a button which will send the data in the child.component.html file.
<button (click)="shareData()">Send Data</button>Note : Always refer to the official documentation of angular.
Basic example using parent, child and grand-child components #
Let’s start with setting up the project first.
ng new ng-exampleAfter creating the project, let’s create the components required for this example.
ng g c parent
ng g c child
ng g c grand-child
Now let’s clean the default data from the files. Starting from the parent component. Changes needs to be done in the parent.component.ts and parent.component.html file.
import { Component, OnInit } from "@angular/core";
import { FormGroup, FormControl, Validators } from "@angular/forms";

@Component({
  selector: "app-parent",
  templateUrl: "./parent.component.html",
  styleUrls: ["./parent.component.scss"],
})
export class ParentComponent implements OnInit {
  temporary!: number;
  constructor() {}

  ngOnInit(): void {}

  addInput = new FormGroup({
    input1: new FormControl("", Validators.required),
    input2: new FormControl("", Validators.required),
  });

  temporaryInput(input3: any) {
    this.temporary = input3;
  }
}<form [formGroup]="addInput" class="form">
<label>
Input 1 :
<input
type="text"
placeholder="Enter value"
formControlName="input1"
/><br /><br /> </label
><br />
<label>
Input 2 :
<input
type="text"
placeholder="Enter value"
formControlName="input2"
/><br /><br /> </label
><br />
<app-child
[input1]="this.addInput.get('input1')!.value"
[input2]="this.addInput.get('input2')!.value"
(newInput)="temporaryInput($event)"
></app-child
><br /><br />
Result =
</form>
<br />After adding the changes to the parent let’s move to child component. Changes needs to be done in the child.component.ts and child.component.html file.
import { Component, Input, Output, OnInit, EventEmitter } from "@angular/core";

@Component({
  selector: "app-child",
  templateUrl: "./child.component.html",
  styleUrls: ["./child.component.scss"],
})
export class ChildComponent implements OnInit {
  @Input() input1!: string;
  @Input() input2!: string;
  @Output() newInput = new EventEmitter<string>();

  constructor() {}

  ngOnInit(): void {}

  temporaryInput!: any;

  addInputNumbers(temporaryInput: any) {
    this.newInput.emit(temporaryInput);
  }
}<app-grand-child
[input1]="input1"
[input2]="input2"
(newInput)="addInputNumbers($event)"
>
</app-grand-child>In last final changes needs to be done in the grand-child.component.ts and grand-child.component.html file.
import { Component, OnInit, Input, Output, EventEmitter } from "@angular/core";

@Component({
  selector: "app-grand-child",
  templateUrl: "./grand-child.component.html",
  styleUrls: ["./grand-child.component.scss"],
})
export class GrandChildComponent implements OnInit {
  @Input() input1!: string;
  @Input() input2!: string;
  @Output() newInput = new EventEmitter<string>();

  constructor() {}

  ngOnInit(): void {}

  temporaryInput!: any;

  addUserInput() {
    this.temporaryInput = parseInt(this.input1) + parseInt(this.input2);
    this.newInput.emit(this.temporaryInput);
  }
}<button (click)="addUserInput()">Add Numbers</button><br /><br />